Are you ready to embark on a yam farming adventure right in the convenience of your compound? Discover a revolutionary method shared on social media that allows you to cultivate yams with ease.
Contents
Follow these simple steps to kickstart your journey to homegrown yams:
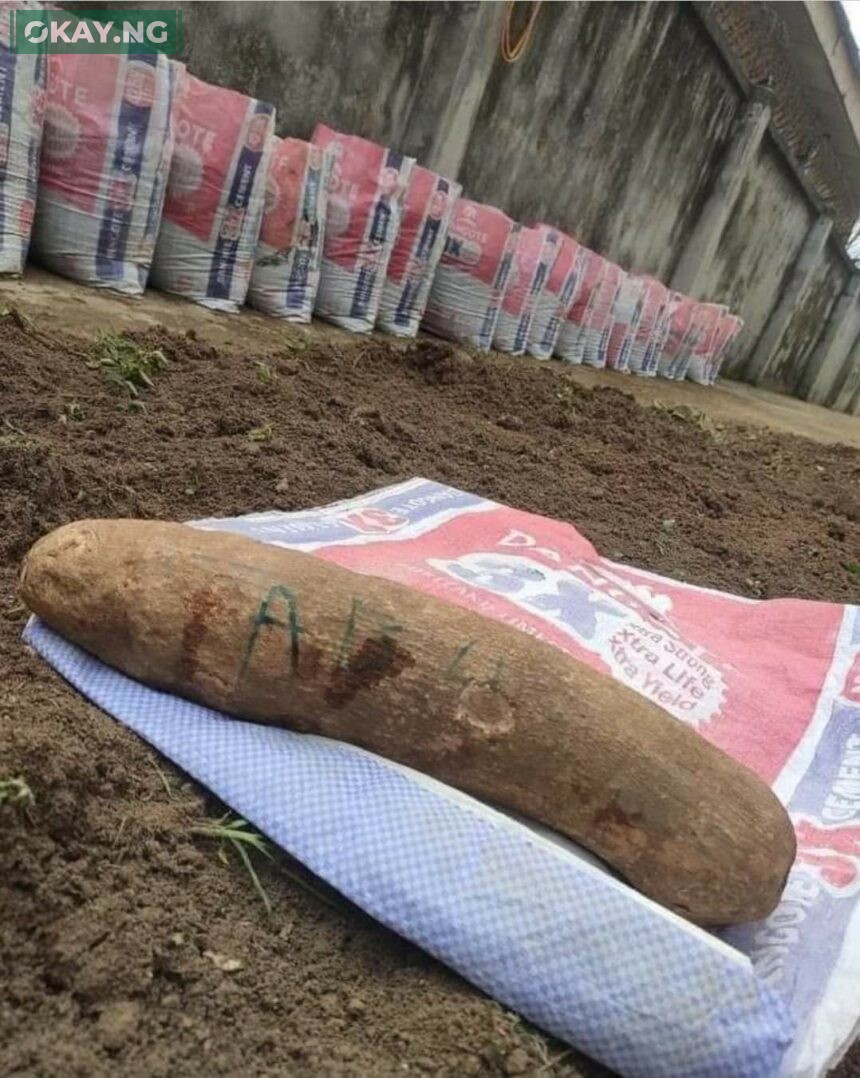
Step 1: Gather Your Supplies
- Sacks: Choose large cement or rice sacks to accommodate healthy yam growth.
- Charcoal Ash: Collect ash from burnt charcoal, a surprising yet essential ingredient for nurturing your yams.
Step 2: Prepare Your Sacks
- Fill with Soil: Once you’ve acquired your sacks, fill them with nutrient-rich soil to provide a conducive environment for yam growth.
Step 3: Planting Process
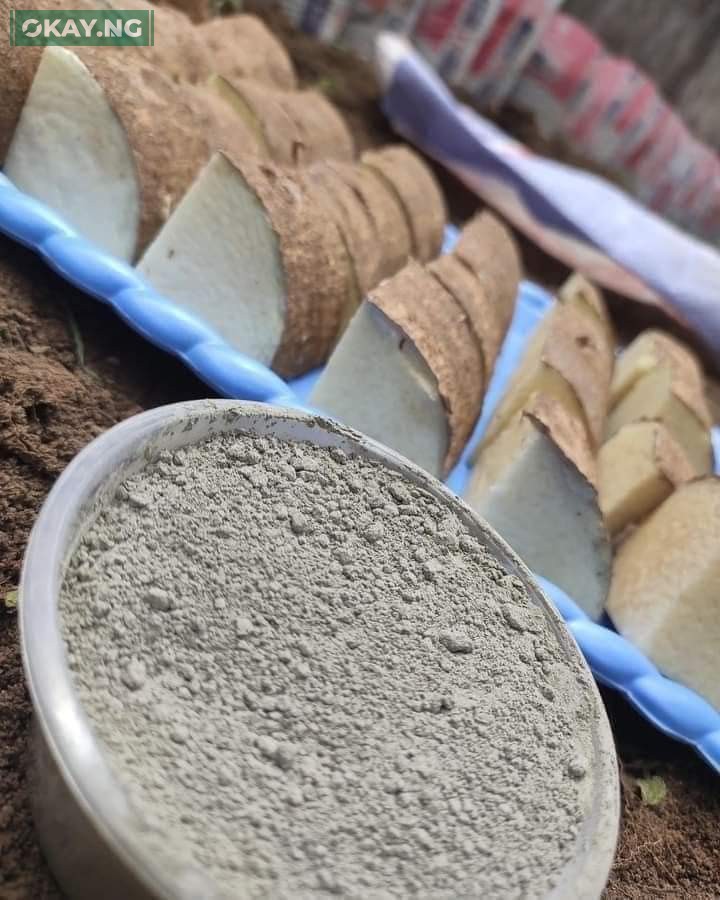
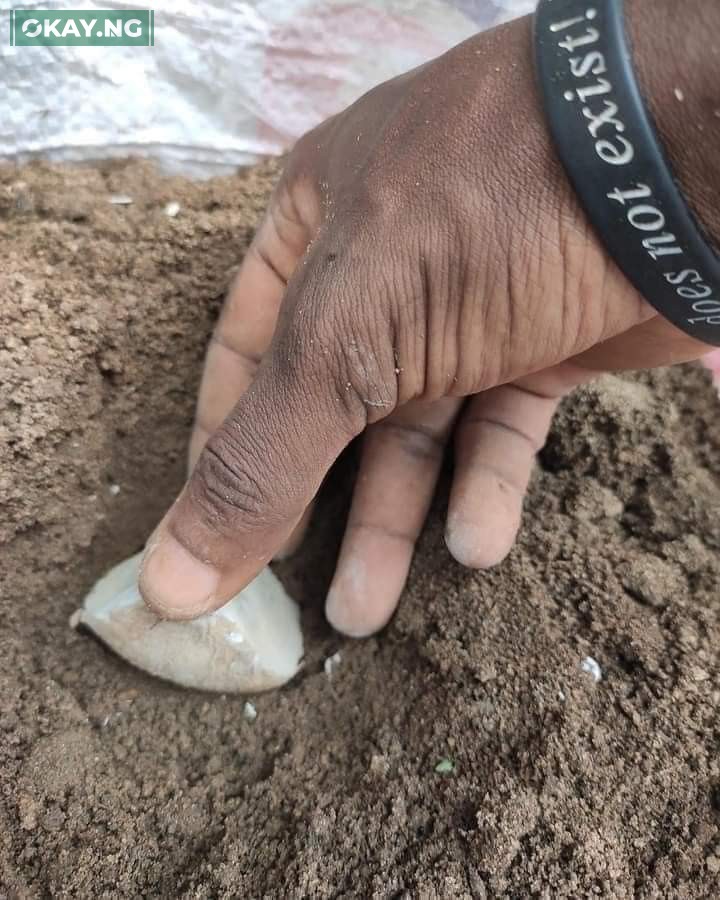
- Preparation: Before planting, either bury yam heads directly into the soil or cut your yam into smaller pieces.
- Ash Application: Coat the yam pieces with the burnt charcoal ash to promote growth and deter pests.
- Planting: Bury the prepared yam pieces deep into the soil-filled sacks.
Step 4: Environmental Placement
- Outdoor Location: Choose a suitable outdoor spot where the sacks can receive adequate sunlight and rain.
- Optimal Conditions: Ensure the environment offers the necessary conditions for yam growth, including sunlight and moisture.

Step 5: Supporting Growth
- Monitoring: Keep a close watch on your yam sacks as they begin to sprout leaves.
- Support Mechanism: Once leaves emerge, attach a stick to the yam plant to support upward growth and encourage healthy vine development.
With this straightforward guide, you can transform your compound into a thriving yam farm. By following these five simple steps and providing the necessary care, you’ll soon enjoy the satisfaction of harvesting your own fresh, homegrown yams. Say goodbye to store-bought produce and hello to the joys of cultivating your own yams from scratch. Get ready to embark on an exciting journey of backyard yam farming!