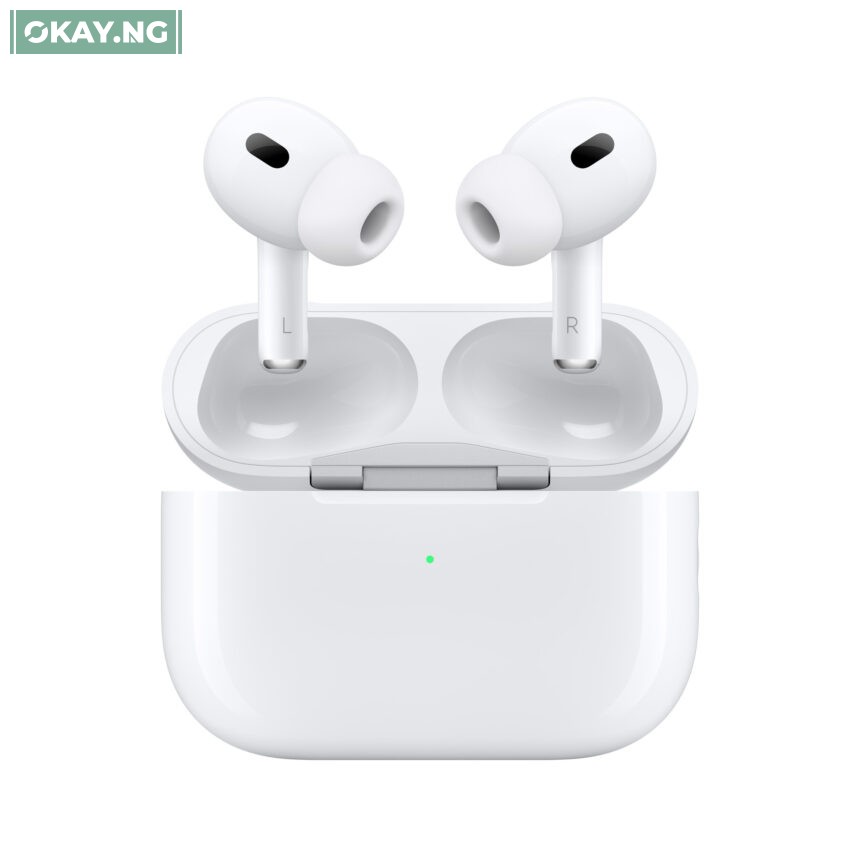
Apple regularly releases firmware updates for its AirPods Pro. These updates can improve performance, fix bugs, and add new features.
Contents

To ensure that you are getting the most out of your AirPods Pro, it is important to keep them up to date with the latest firmware.
Steps to Update Your AirPods Pro
To update your AirPods Pro to the newest firmware, follow these steps:
- Make sure that your AirPods Pro are connected to your iPhone or iPad.
- Place your AirPods Pro in the charging case and close the lid.
- Connect the charging case to a power source.
- Leave your AirPods Pro connected to power and within range of your iPhone or iPad for at least 30 minutes.
- Your AirPods Pro will automatically update to the newest firmware if it is available.
How to Check the Firmware Version of Your AirPods Pro
To check the firmware version of your AirPods Pro, follow these steps:
- Connect your AirPods Pro to your iPhone or iPad.
- Open the Settings app.
- Tap Bluetooth.
- Find your AirPods Pro in the list of devices and tap the info button (the “i” in a circle).
- The firmware version of your AirPods Pro is listed under the About section.
Troubleshooting
If your AirPods Pro are not updating to the newest firmware, you can try the following:
- Make sure that your AirPods Pro are connected to a power source.
- Make sure that your iPhone or iPad is connected to the internet.
- Try restarting your iPhone or iPad.
- Try resetting your AirPods Pro.
To reset your AirPods Pro, follow these steps:
- Place your AirPods Pro in the charging case and close the lid.
- Wait 30 seconds.
- Open the lid of the charging case and press and hold the setup button on the back of the case for 15 seconds, or until the status light flashes amber and then white.
- Release the setup button.
- Your AirPods Pro have now been reset.


